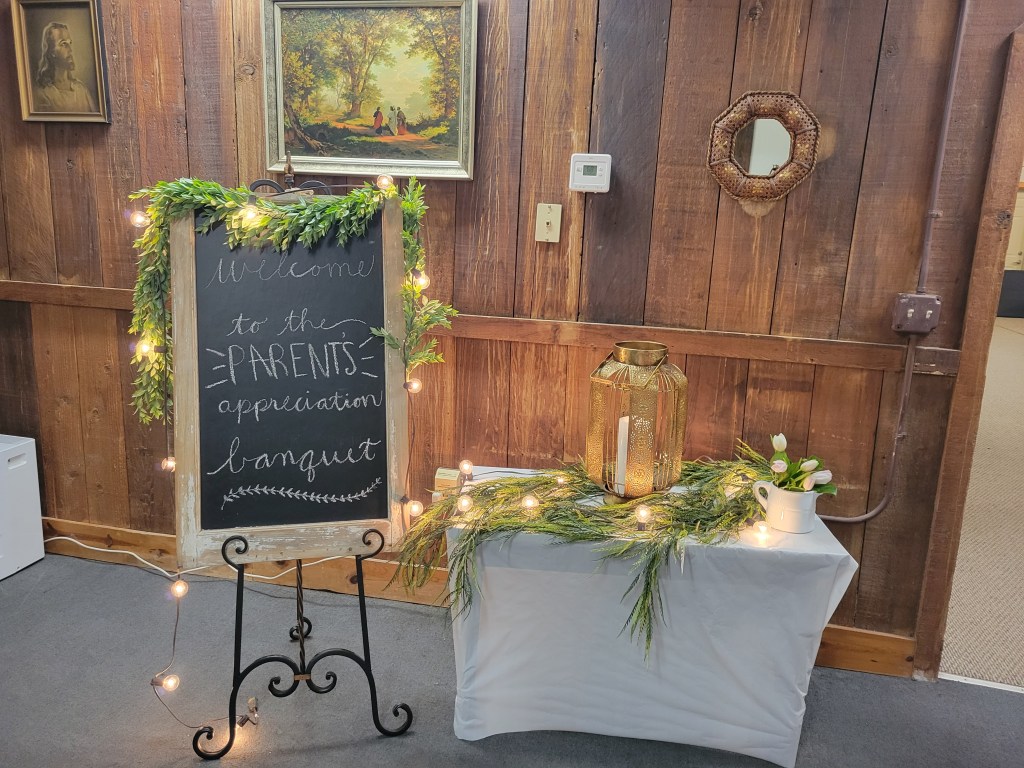
The end of February we were completing our year of being sponsors for our church youth group. Before our term was up, we thought it would be nice for the youth to do a Parent’s Appreciation Banquet. So in this post I’ll be sharing what we did for that event.
At first I couldn’t conclude on centerpiece decor. I love to decorate and when something really strikes me, I know because of the thrill it gives me. I thought & thought but nothing gave me the thrill.
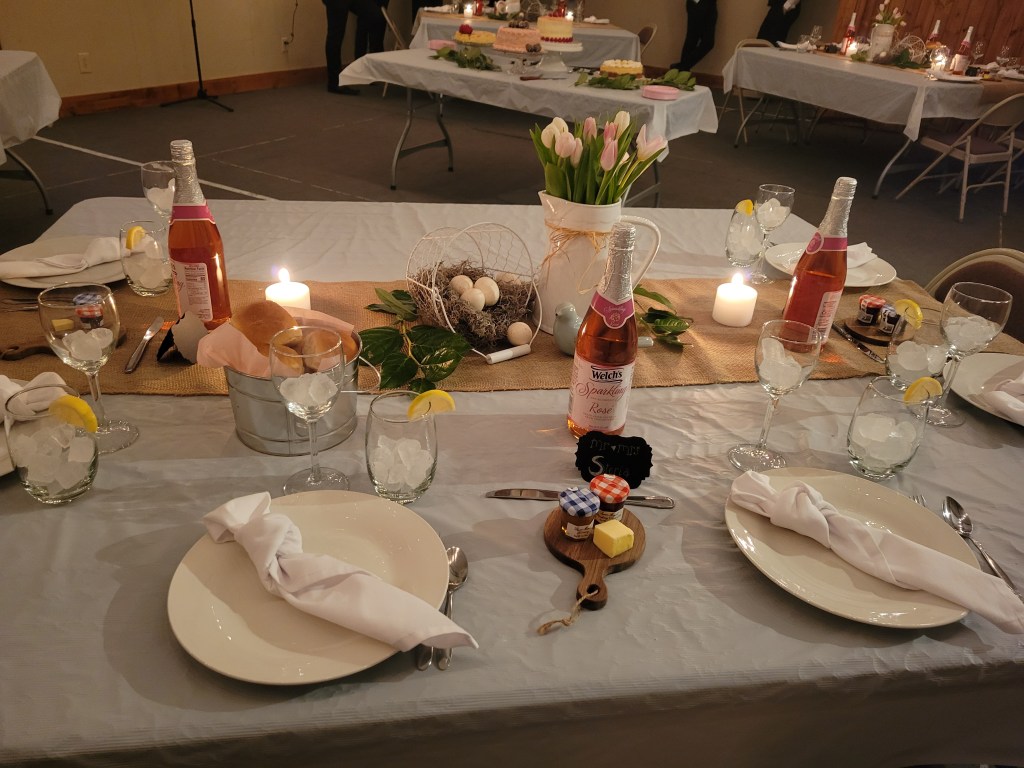
Then early one morning sleep eluded me long before I wanted. When you can’t sleep you start to think before you even think about thinking. My brain piled up with a thought jam. Since I was already thinking, I began thinking of potential centerpieces for the Banquet. I prayed a little prayer asking God to help me know what I should/could do for centerpieces. In a couple minutes tulips entered my thoughts. “Yes, pink tulips! With bird figurines, eggs and baskets!” It was an instant thrill, and that was settled. “Thank you God!” Of course I wanted to ask the other committee ladies what they thought of the idea before I forged ahead.
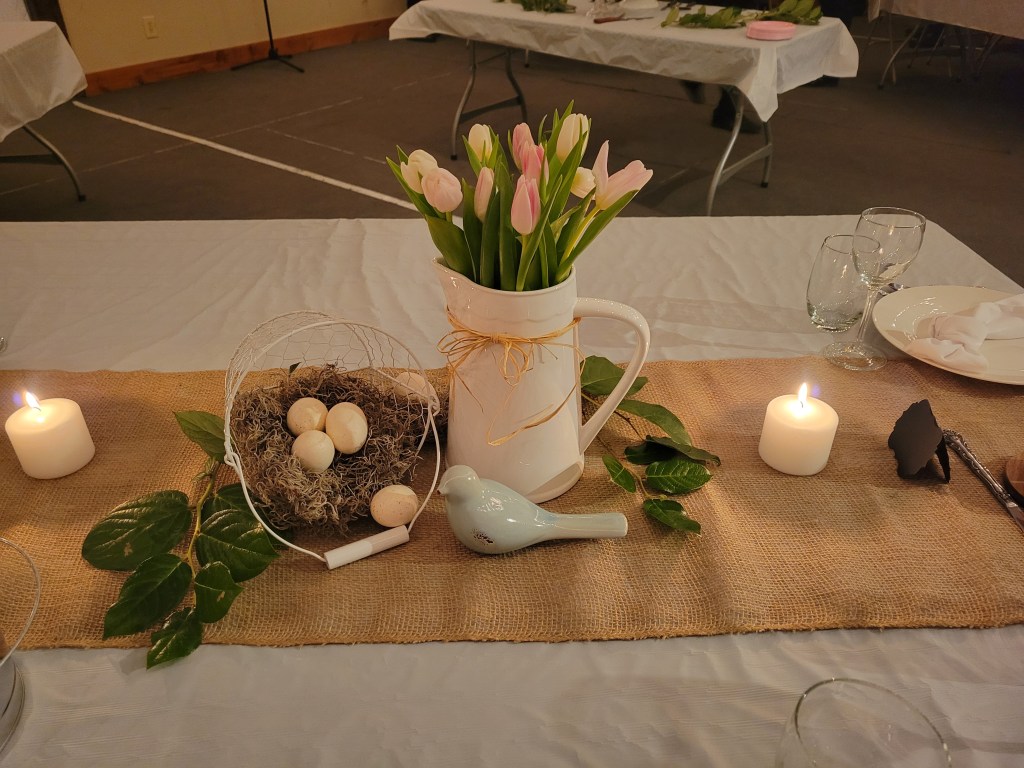
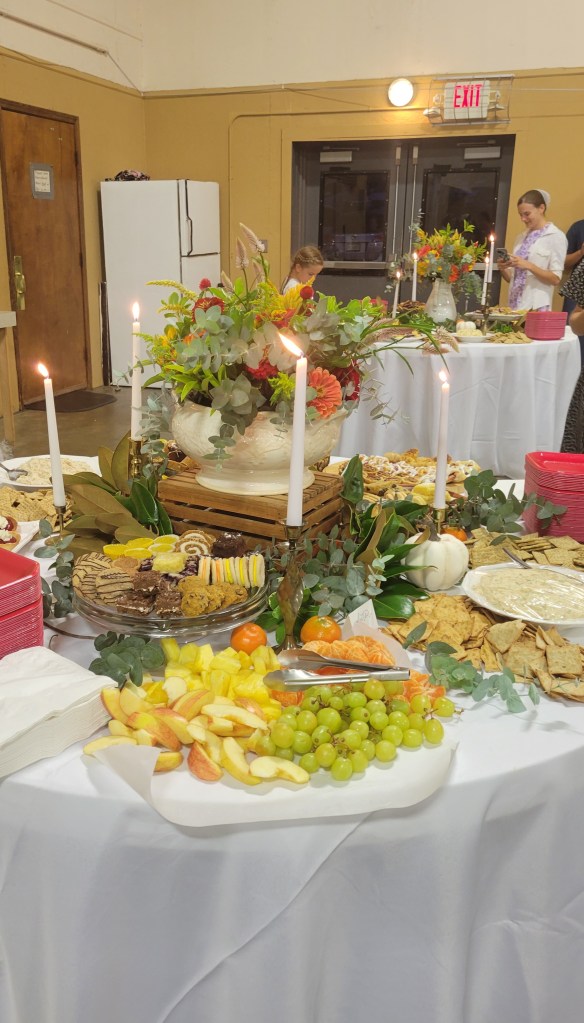
We decided to use glass dishes, cloth napkins and goblets for class. My friend Kathryn who was assisting me in this banquet planning, had globe string lights used at her daughter’s wedding. She generously allowed us to string them up over the tables for that night. These were our main lighting which gave a very cozy, romantic hue!

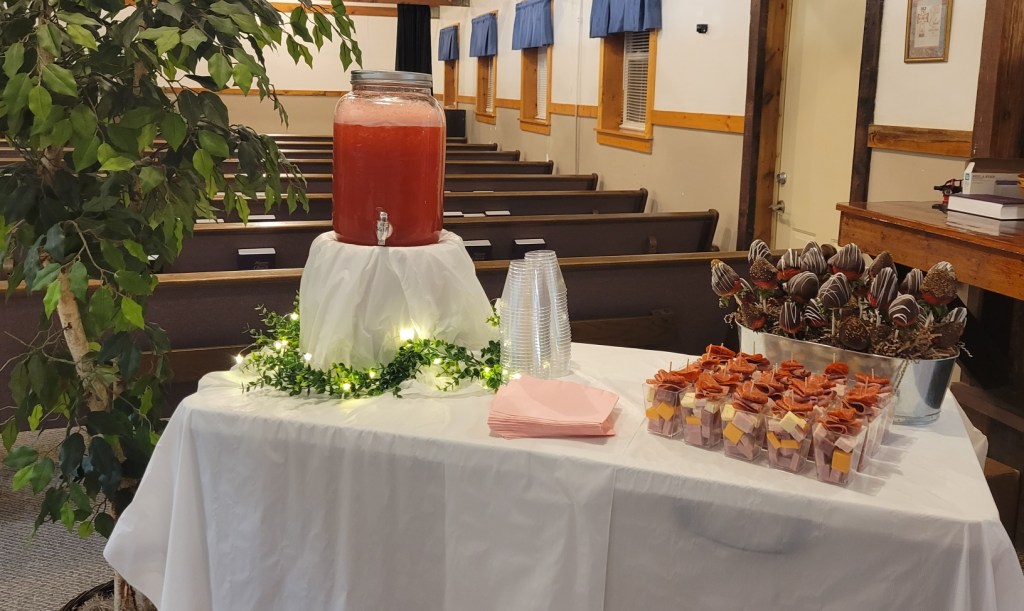
Now on to the menu…. We wanted something elegant and delicious. We discussed food options and concluded on the following menu: grilled porkloin, twice baked potatoes, greenbeans with bacon, crunchy romaine salad, dinner rolls, cheesecakes and layer cakes. For drinks we had Welch’s Sparkling Rose- a Valentines exclusive and coffee. For appetizer: chocolate covered strawberries, meat & cheese cups and a pink punch.
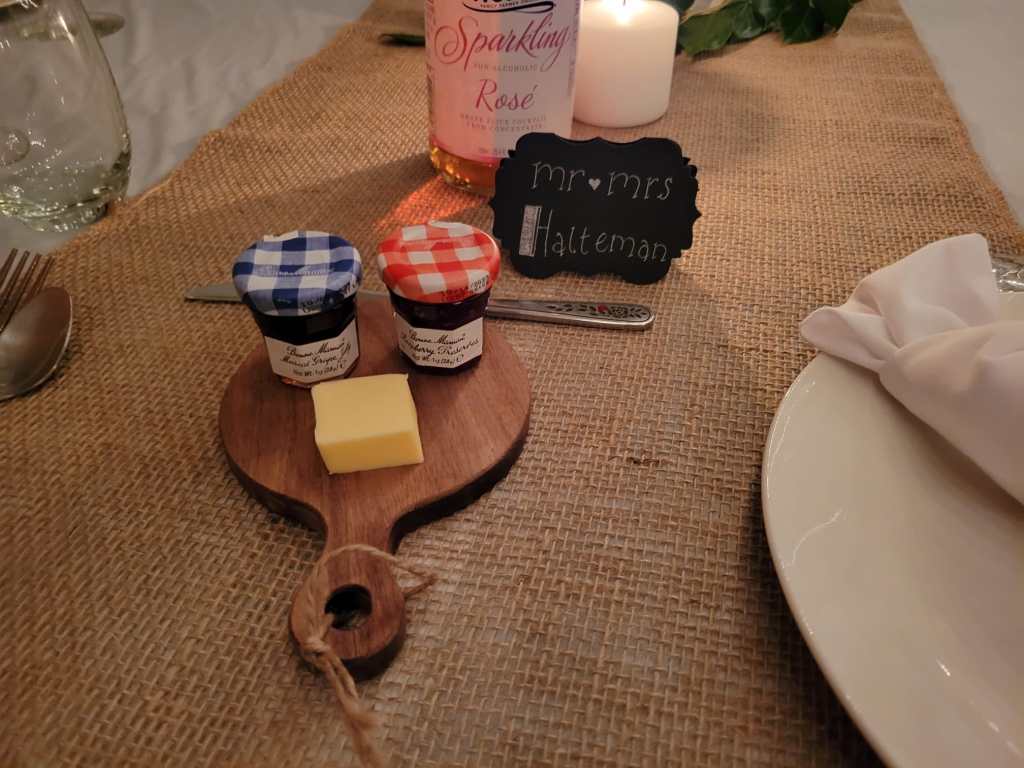
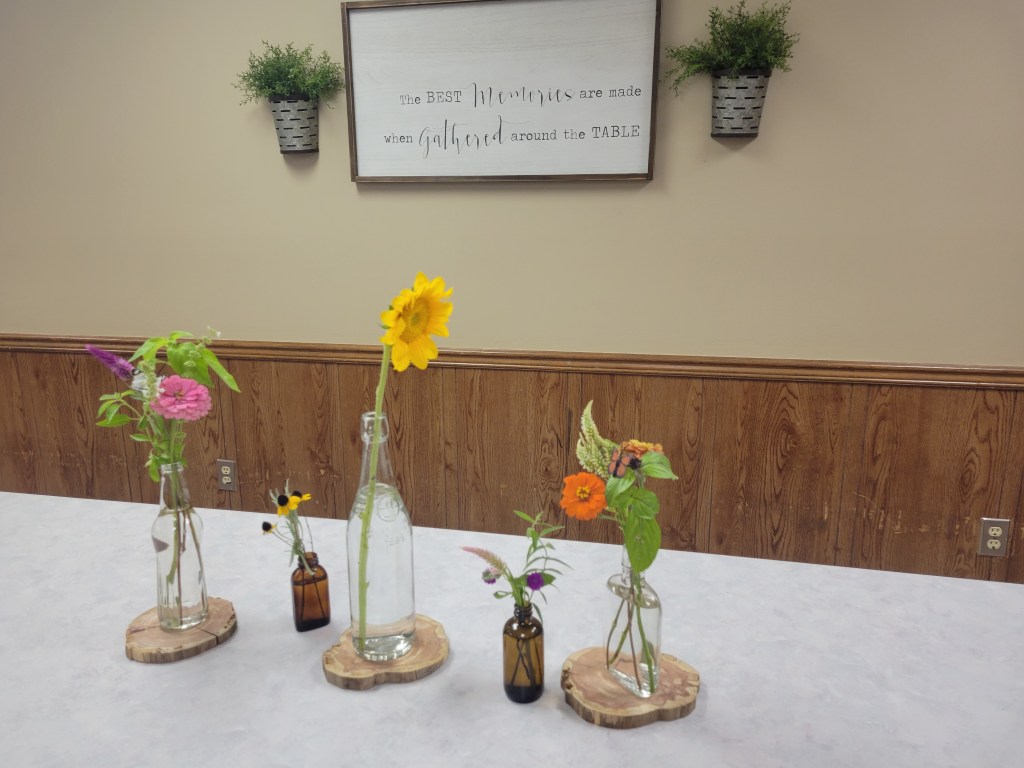
I found the cutting boards at Hobby Lobby and the mini jam jars we ordered from Amazon.


We had the youth do various jobs besides serving their parent’s their food. We had 2 guys do valet parking for the couples. We had 2 girls right inside the door to take they’re coats and hang them up. Next we had a greeter girl who directed them to the auditorium where a young married couple served them appetizers. They stayed in there until we were completely ready. Then we had someone from each family go out to the auditorium and escort their parents to their seats.

After an opening and prayer, the youth filed through to fix their parent’s plates. They were to keep tabs on their drinks or anything they needed all evening. Except for dessert we had self serve so they could pick and choose from the variety.

We had some activities afterwards that were fun for everyone:

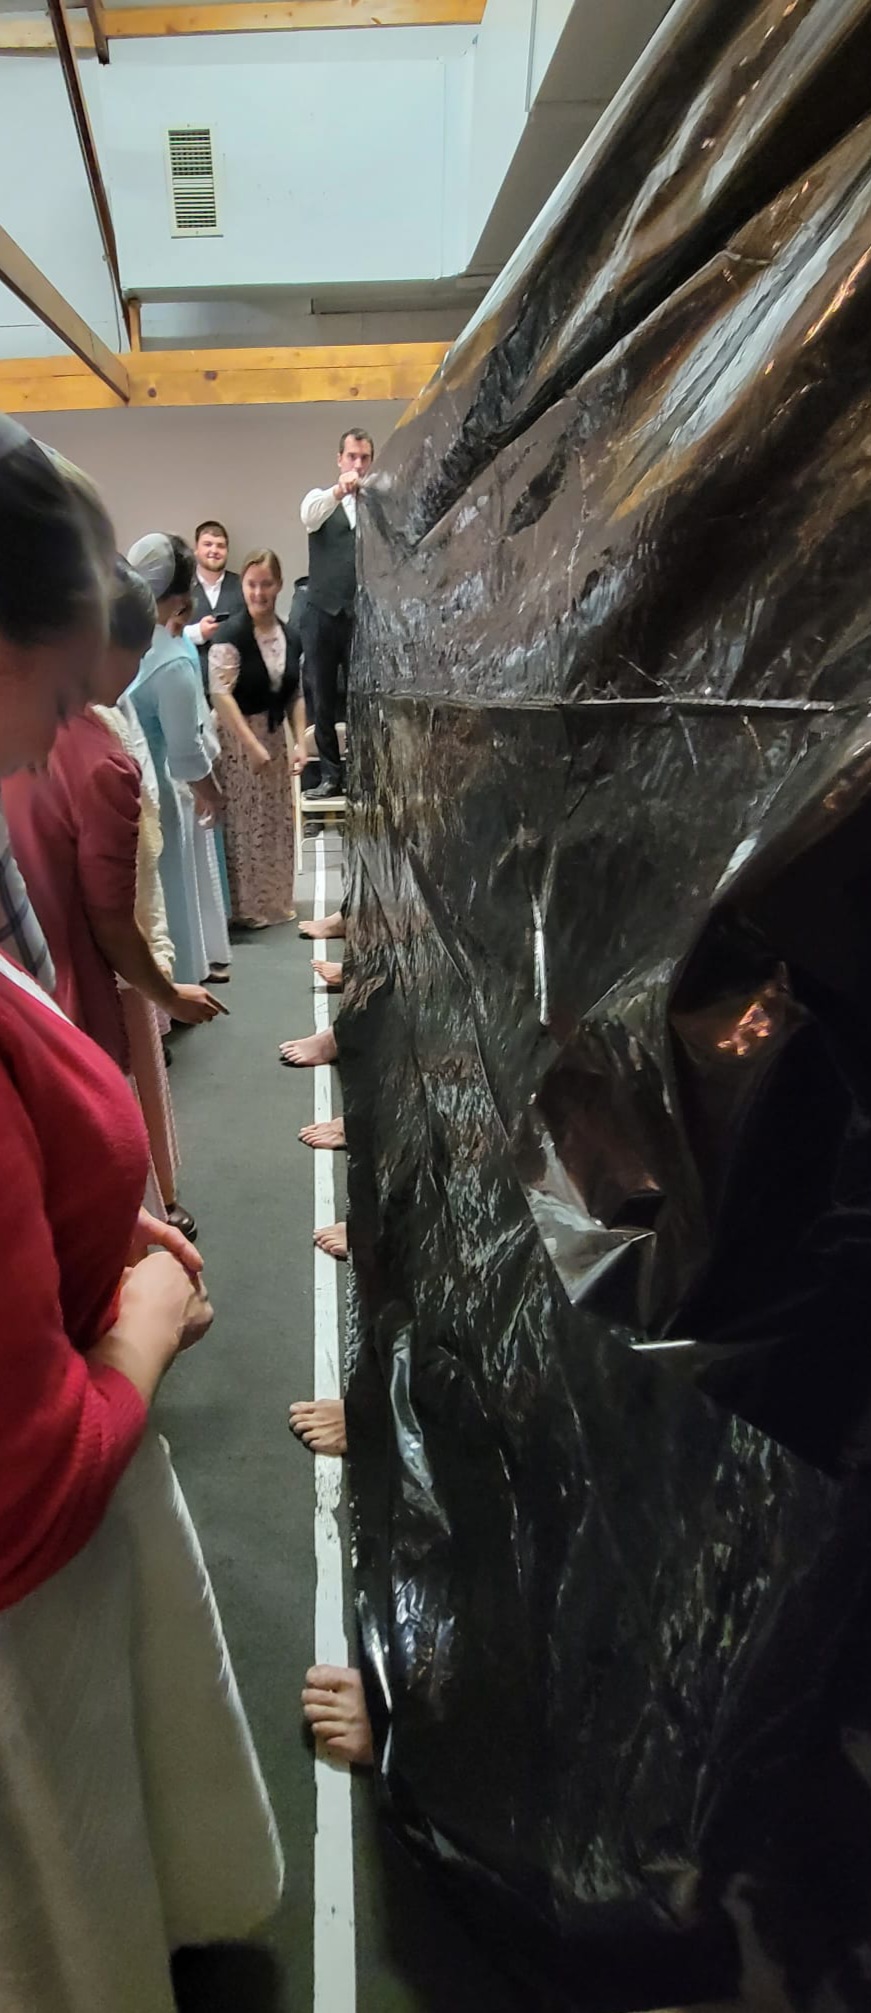
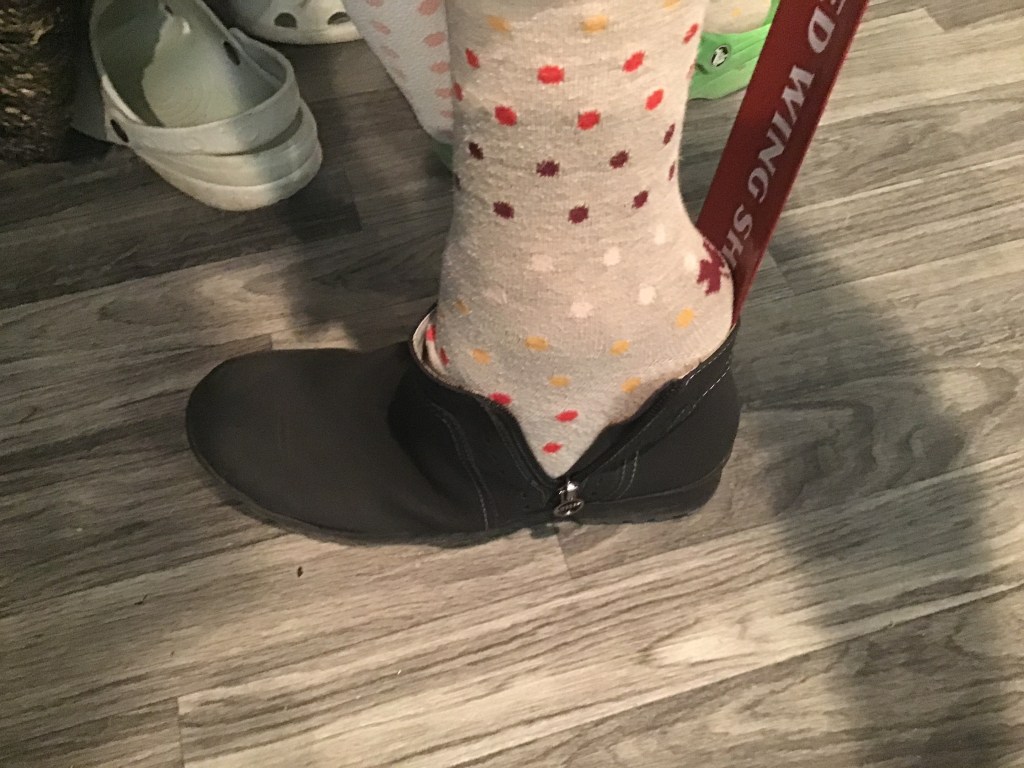
These activities made for lots of laughter! The girls got the correct feet but 2 of the guys were very unsure which hand was their mother’s and ended up choosing the wrong one!
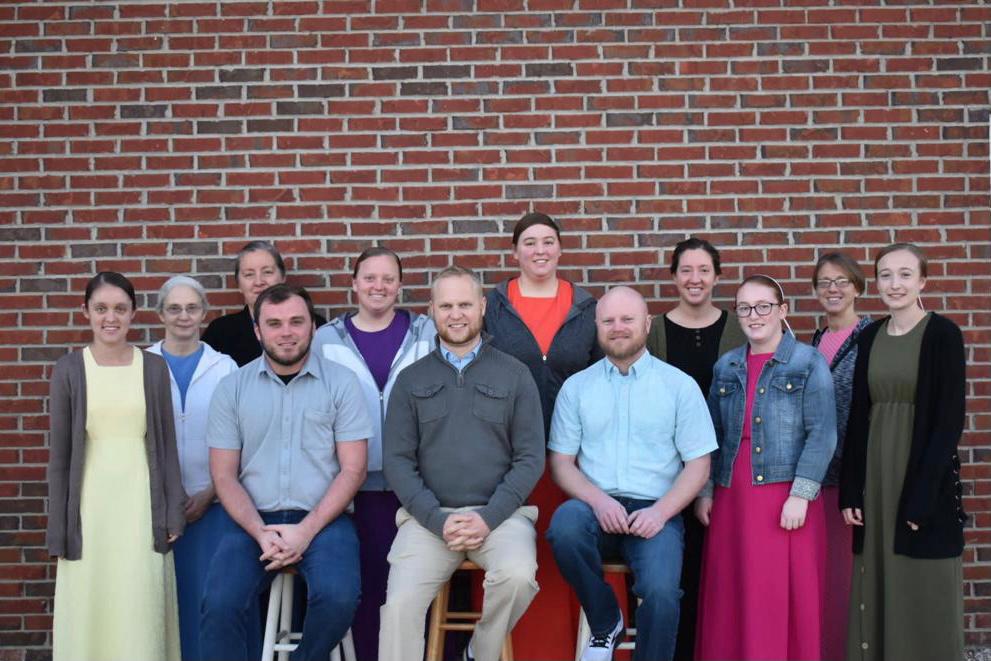
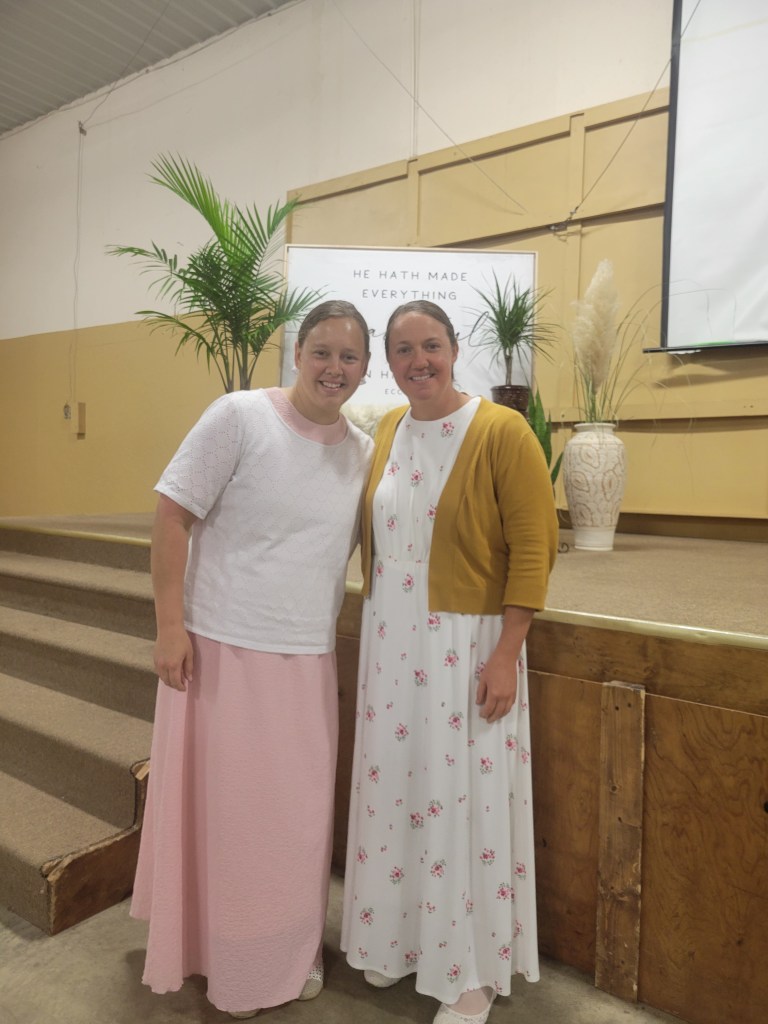
Following are photos of the youth with their parents. There was one couple who was not able to get there until later, hence the two empty place settings in the last picture.

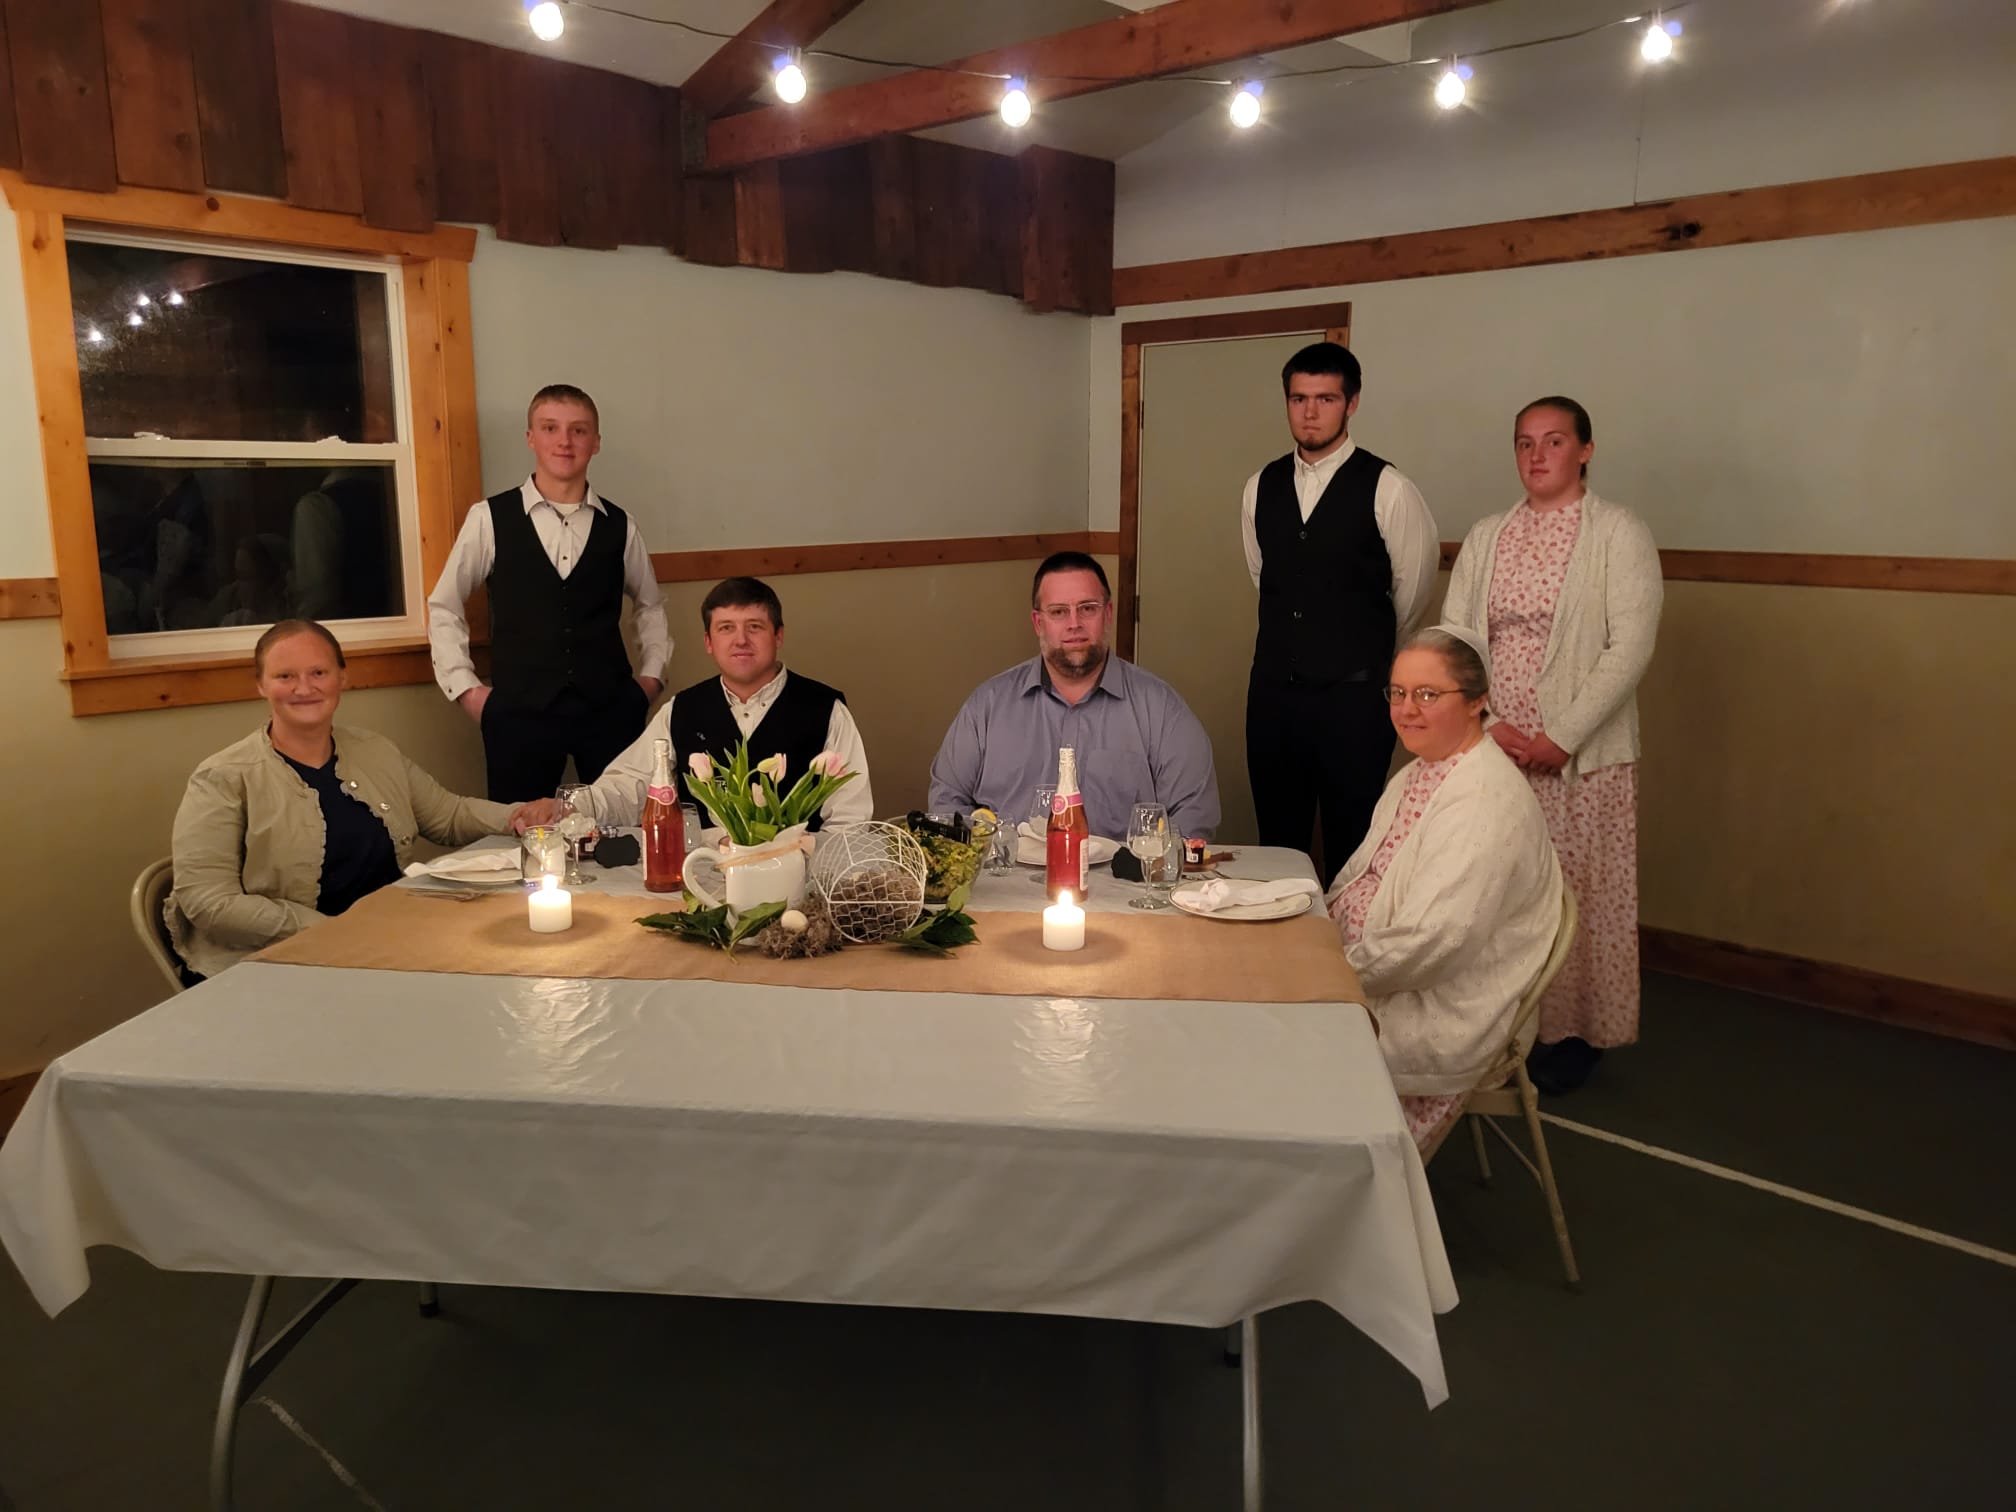
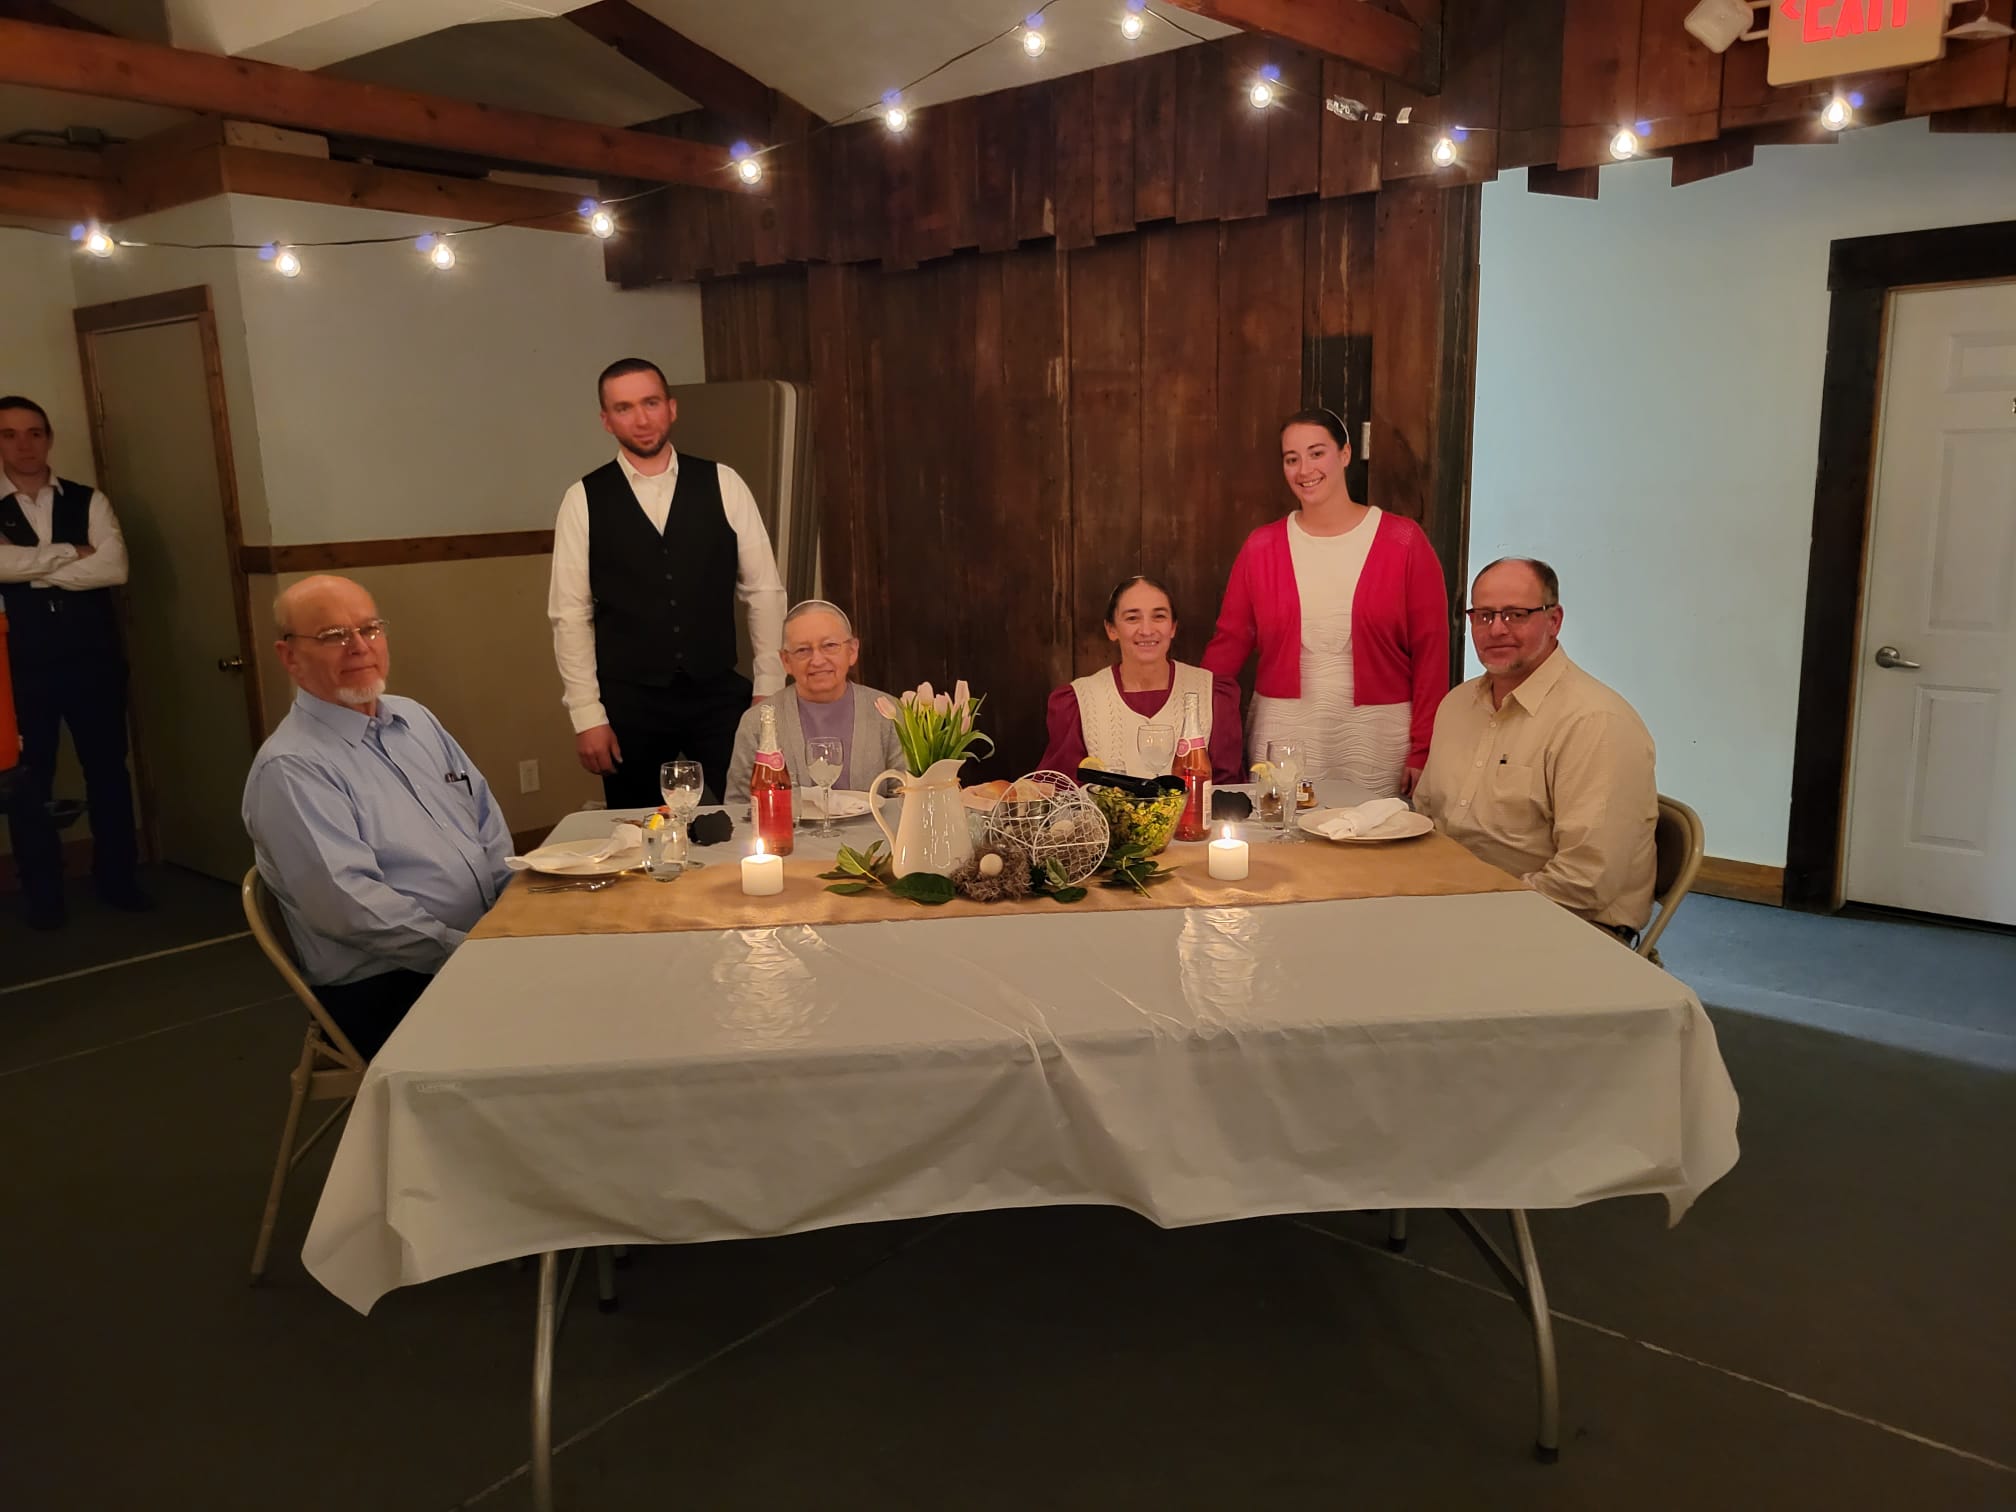

I believe everyone enjoyed the evening and it’s good for the youth to think about how much their parents really do and have done for them. It’s also a great way to honor their parents. I hope this will give someone inspiration to plan an Appreciation Banquet for people you love. ❤️