The daily rhythm of Mom life can feel ever so mundane. Like, make food, wipe faces, load dishwasher, do laundry, read stories, clean house, go to bed. Get up and repeat. For days and months and years. An occasional break from the cycle refreshes the soul. I felt privileged to experience a delicious refresher in September.
How freeing to be responsible only for myself and my bags as I trotted through the airport. Only one plate to fill when I was in line for lunch. No hair to braid and shoes to tie before heading out the door. But wait. What’s the little ache in my heart? Being away from my family reminds me how much I love my Mom and wife career. How much I love my people. How much I love my home and housework. Am I boring? Maybe I am. But it’s my life and I love it.
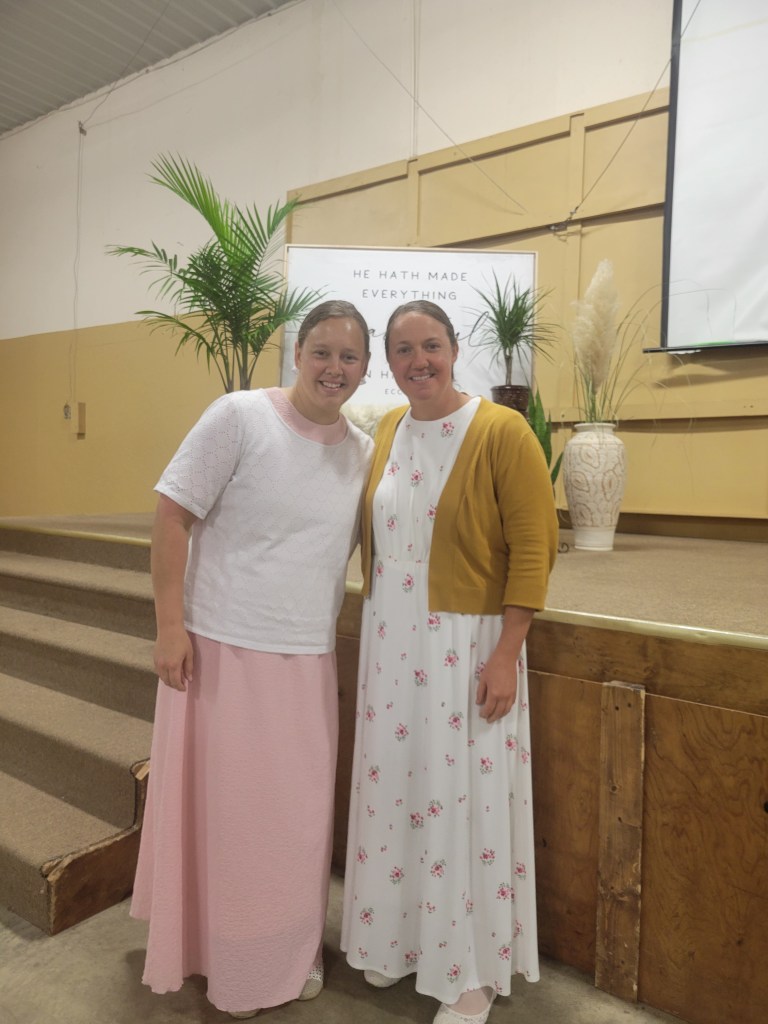
September 16 I flew to Atlanta Ga where my longtime friend Valerie Miller picked me up. Together we drove to Hartwell to attend the annual ladies seminar that weekend. We’ve been besties since teenagers but now live miles apart. Quality time for just the two of us has not been reality for a lengthy stretch of years. It was a definite gift from the Lord who orchestrated all things so that we could enjoy an inspiring weekend together!! I wish more of my friends could have been there!

Friday morning’s first session was by Jen Miller from Westcliffe, CO. Jen has had 3 daughters who all carried a genetic disease that caused them to be handicapped with a shorter life span. She has lost all 3 of her beautiful daughters. She spoke of her dreams being crushed. Her struggles in surrendering to God’s plan in her life. I was inspired all over again; I’d heard her story some years back. Seeing how God healed her broken heart. Hearing her testimony of His faithfulness. His supplying the little drops of grace moment by moment as she needed them. If you would like to read her story you can purchase her book, Life is a Gift. So heartbreaking. Here are some highlights of her sessions:
We all experience dark seasons of life, but God’s beauty can be seen in our life as we endeavor to learn what God is teaching us in that time. There’s beauty in the cross of Jesus. The cross teaches us brokenness and surrender. My sinless Savior surrendered himself to the cruel death of the cross. How can I not surrender my dreams to Him? Brokenness is rough. This journey to surrender is not silky with fragrant blooms to soothe our feet. It’s dark and jagged, but the beautiful peace at the end of our struggle to surrender is worth the rocky road. It leads to beauty! God may change us and our dreams but that is a surrendered lifestyle. We must remember He sees the whole picture. We do not. Only as we fully trust Him can we fully surrender.
“Control and fear go hand in hand. Surrender and peace go hand in hand.”
Jen also shared this quote– It’s not so much the giving up what we can’t have, as the embracing what we’ve been given.” -Trish Hostetler
God’s love does not depend on my performance for Him. This performance mentality is something I personally have struggled with much in my life, but slowly, at turtle speed, I’m learning. He loves me as much when I’ve failed a woeful amount as He does when I’m living in sweet victory. He loves a saint of 70 years no more than the poor sinner of 80 years.
Serve Christ because my heart is brimming with love for Him, not with a slave mentality. Be quietly confident God will supply my needs. Emotional needs. Physical needs. Grace needs. Whatever your need, know and trust He will supply!!
When we’ve been hurt it’s easier to build walls around us but that gets us nowhere. Lean back into God’s embrace and learn to embrace the seasons of life!
People like to talk about the hurts they have from what others have done to them. But we need to be talking about what God has done for us instead of what people did to us! Then we can go from being a victim to a victor. In John 5:1- 9 is the account of Jesus healing the lame man. Jesus asks him, “do you want to be healed”? (Wilt thou be made whole?) We tend to think, of course he wanted to be healed! But does everyone really want to be healed? This man was laying by the pool of Bethesda for 38 years! It had become his life. His response to Jesus’ question was not an excited “yes Jesus!” He simply stated how he’s never able to get to the pool in time. Was he complaining? I’m not judging him; I know how easy it is to get stuck in our ruts. All we can think of is the woeful circumstances we’ve been given and murmurings readily spring forth! Some people enjoy their “mat” of hurts so much and for so many years that they really don’t want to be healed! Get off your mat and Jesus will heal you- if you really want to be healed!

I also thoroughly enjoyed the class; Cultivating a meek and quiet spirit amidst the challenges and demands of Motherhood, by Deborah Heatwole from Waynesboro GA. She is a homeschool Mom of ten. Here’s glimpses of her session:
My children’s attitudes are very closely tethered to my own.
We must prioritize God over phone time. Read your Bible before checking your phone. Put your phone down when your child is speaking to you. Look him/her in the eyes.
Listening to Bible audio is a great way to engrain scripture in our minds amidst our bustling Mama schedules. Pray out loud when you pray by yourself.
Everyday faithfulness is an act of worship, not just survival. (I heard this quote before and she also shared it, but I don’t know who to credit for it)
Cultivate your relationship with your husband! It’s hard to have a quiet heart if your not in tune with your husband.
Discouragement and Distractions are the Devil’s tools. Are you discouraged with your unending stack of jobs? Discouragement can creep in super easy and for a slew of reasons. Is your phone distracting you? Is it distracting you from more important relationships than those on social media?
If your workload is overwhelming, keep cutting back until it’s comfortable. This can be hard to know where to cut back! Ask your husband for his thoughts. Husbands can often give good advice. Also, Ask for and accept help. People are generally quite willing to lend a hand if we humble ourselves to ask.
The house may be falling apart but if organization and order are found in my heart, I’m doing fine. I love this! It’s ok when we’re not always on top of things. We can have peace in our hearts amidst the clamor of life. Having my heart in order is what really matters! – Much easier said than done.
Read read read to your children.
Listen to your children talk. Let them ramble on their day’s events. If we want them to ramble about their life when they’re teens, we better take an interest and listen to them now.
Apologize to your child when you’ve been frustrated with them. Make sure they know they’re more important than the milk they just spilled.
Involve your children in service. No better way to teach them service to God and others than by your example.
Children have no time concept. Slow your speech and do not constantly rush them. Things really do go better if they have ample time to dress and do their jobs without us reminding them to hurry, every couple minutes.
We must take times to rest. Resting ourselves from the buzzing life around us. Rest is where we realize the time restraints and limitations God has given us. Rest by doing something to rejuvenate yourself. We can’t likely be in solitude for hours, but take the mini vacations when you’re feeling overworked and underpaid. Enjoy a walk in the crisp, autumn air or relax with your favorite magazine and don’t chide yourself. We need those moments.
Live a life of gratitude. Thank and praise God for His unnumbered blessings! Praise Him for all He’s done, is doing and will do!